Introduction
Glass dropper bottles for essential oils look simple, but the user experiences a system made from several parts: glass, pipette, bulb, closure, liner, and sometimes a tamper-evident feature. A failure in any one part can turn an attractive product into a leaking or difficult-to-dose package. This guide helps brands compare sizes and colours, choose a dispensing arrangement, and build a sensible test plan. It is written for packaging selection, not as a claim that any one bottle suits every essential oil formulation. Aromatic oils and blends differ, and the filled pack should be tested by the product owner. Decisions about safety labeling, suitability for children, or market-specific rules should be reviewed with a qualified compliance specialist before launch.
Define how customers will use the oil
Is the product sold for home fragrance, professional blending, cosmetic application, or another purpose? Each use case affects the size, dispensing rate, and labeling area. A small concentrated oil may call for measured drops; a diluted facial blend may need a pipette that delivers a larger amount. Consider whether users handle the bottle at a desk, beside a bath, or while traveling. A very narrow bottle may be hard to stand upright. A heavy cap can affect balance when opened. Write down the intended dose and frequency of use, then test the chosen dispenser with representative users. A package should make the expected behavior obvious without relying on tiny instructions. The right bottle is the one that works with the formula and routine, not simply the most visually striking option.
Compare capacity and usable fill
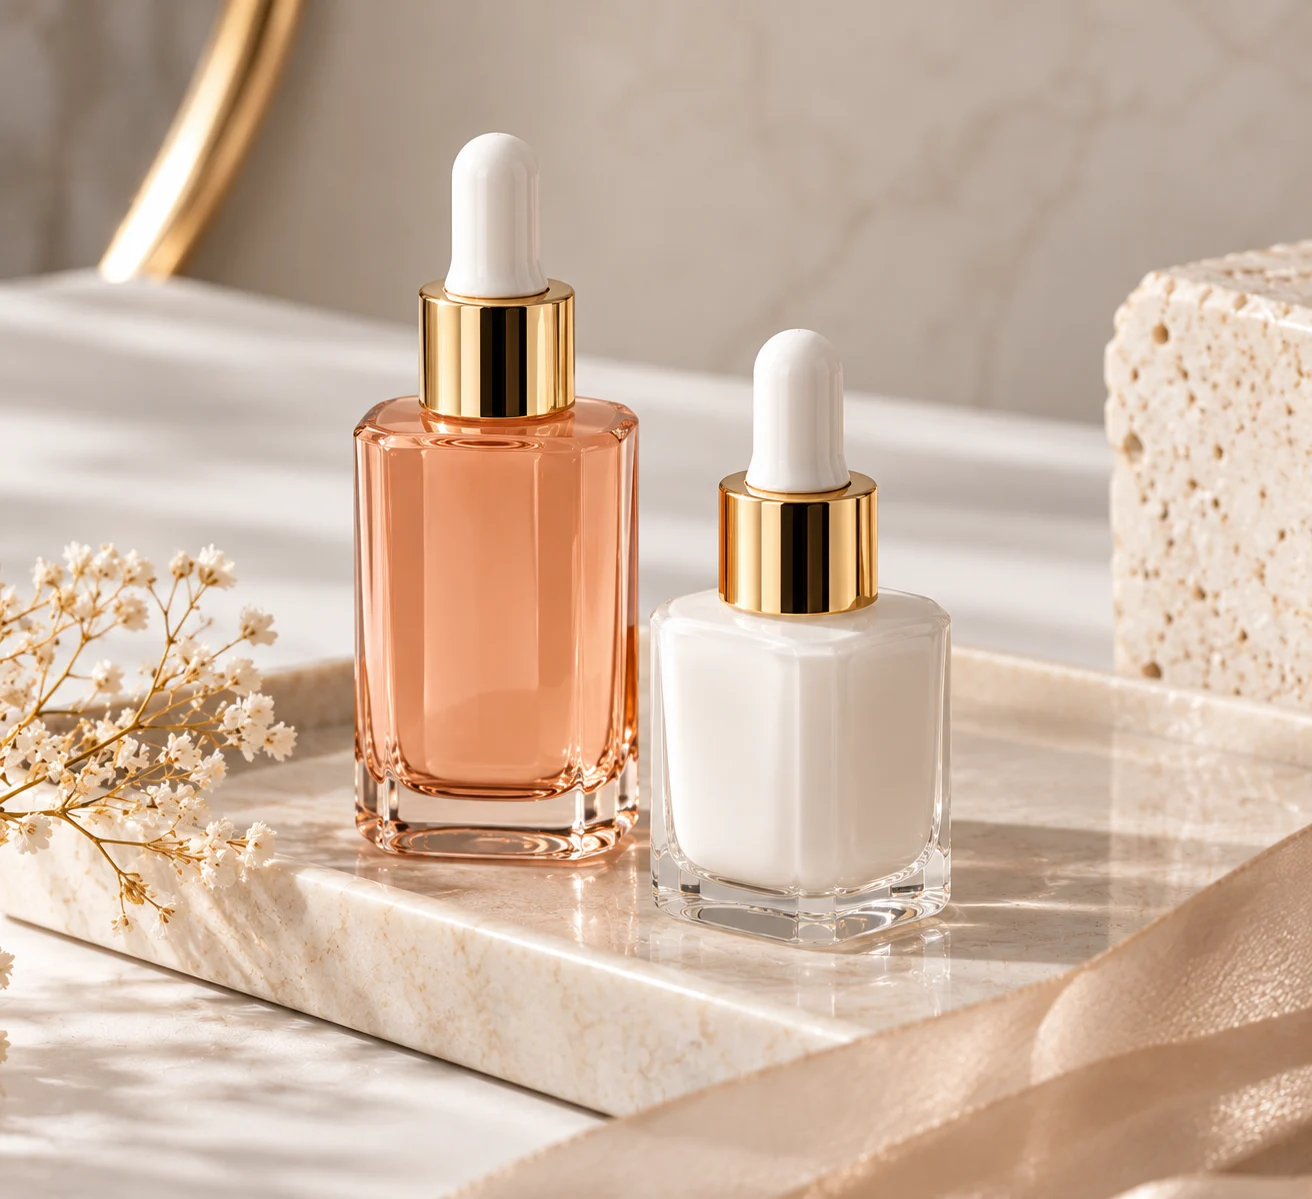
Common small-format bottles are sold by nominal volume, but nominal volume alone is insufficient for a purchase specification. Ask for overflow capacity and the recommended fill volume with the proposed closure. Leave the headspace required by the formulation and filling process. Check how much liquid remains when the pipette can no longer reach it. A long pipette can be efficient in one shape and strike the base in another. Shorter or wider bottles change the visual fill line even at the same declared capacity. Order actual samples in the sizes under consideration and fill them with the intended product. Compare the perceived value, label legibility, and ease of packing. A larger option may simplify a range, yet add unnecessary weight and shipping space if the product is used slowly.
Amber, clear and frosted glass
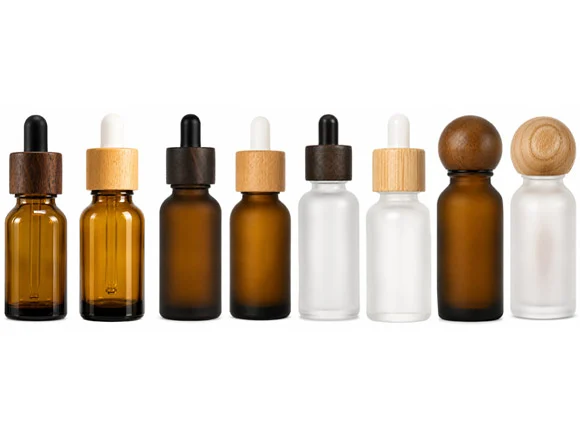
Amber glass is a familiar choice for oils and is often selected when light exposure is a concern. Clear glass showcases the formula and helps consumers see remaining product. Frosted glass offers a softer appearance, though it can make the fill level less obvious. The correct choice depends on the formula's stability profile, expected shelf conditions, and brand presentation. Do not assume a colour guarantees protection; test the filled pack against the exposure relevant to its distribution and use. Also consider label contrast and how the bottle photographs online. Dark bottles need careful lighting to show their shape. A coating may offer a colour option, but it should be assessed for adhesion and abrasion. Always approve the actual production finish, not a digital colour representation.
Select the dispensing component deliberately
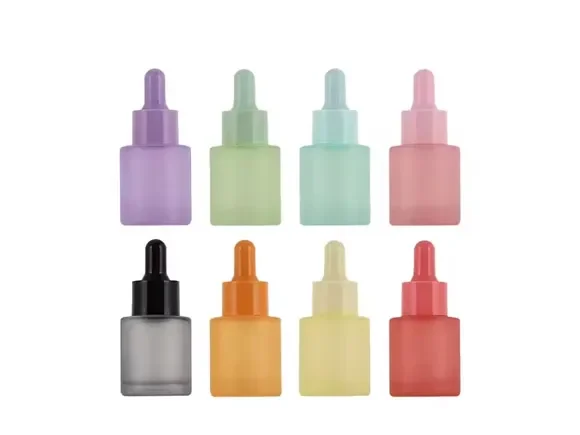
A pipette dropper is useful when customers want direct, visible control, but its performance depends on bulb material, pipette bore, tip, and liquid viscosity. An orifice reducer can be preferable for products intended to dispense one drop at a time without a pipette. Compare the number and size of drops under realistic use; a single demonstration with water is not representative of an oil blend. Inspect whether the pipette reaches the liquid without hitting the glass base. Check whether the bulb returns to shape, whether the closure grips comfortably, and whether the tip drips after dispensing. If the product contains ingredients that may affect elastomers or plastics, obtain component material details and run a compatibility test. A glass bottle does not make the entire assembly chemically inert.
Check neck finish, liner and seal
The threaded neck has to match the closure system. Confirm dimensions and tolerances with the suppliers of both parts, then test production-representative samples assembled at the intended torque. Some closures use liners or inserts that contribute to sealing. Test for leaks with the filled product in upright, inverted, and side orientations, as appropriate to distribution. Investigate residue on threads after repeated opening and closing. A package that stays sealed when new may become messy after weeks of customer use. If tamper evidence is required, specify it separately and inspect its effect on opening experience. Keep approved examples of an assembled, filled bottle. These become reference standards for quality inspection and troubleshooting if a customer later reports leakage.
Consider labeling and safety space
Small bottles have little uninterrupted space for essential information. Determine what must appear on the bottle, what can appear on an outer carton, and what is required in each destination market. Labels need adequate panel width, adhesion, and legibility on curved glass. A decorative print can create a cleaner look but may not be suitable for every variable detail. Test the label or printing after contact with the actual product, since spills during use can affect appearance. Do not rely on an artwork mock-up at 200 percent scale; print a production-size proof and ask someone unfamiliar with the product to read it. The package must communicate clearly in the hand, at retail, and in a small ecommerce photograph. This is especially important where cautionary information is needed.
Build a filled-pack testing plan
Plan tests with the formulation and quality teams before purchase. Typical questions include whether the blend changes colour or odour, whether the bulb or liner swells, whether the seal remains effective, and whether the finish or label resists normal spills. Include storage orientations and temperature changes relevant to the supply chain. Assess dispensing after aging, not only on the first day. Test the packed bottle through realistic handling and transport conditions. Record pass criteria and sample identification in advance. A supplier can provide component specifications and sample units; the brand remains responsible for judging the complete product under its own intended conditions. A signed sample is useful only when its performance is supported by a repeatable procedure.
Keep the collection coherent
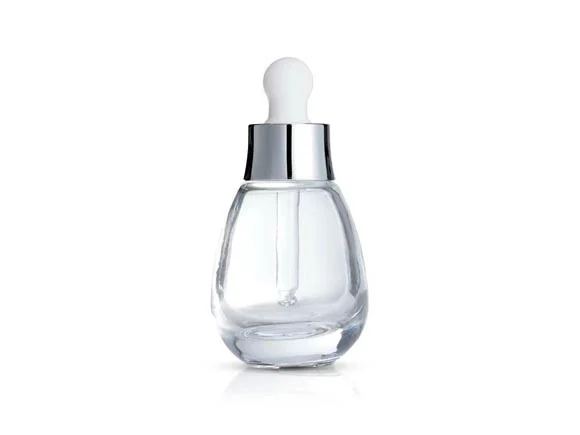
An essential oil range may include several scents and possibly blends, roll-ons, or larger refill formats. Use a shared bottle silhouette, closure colour, or label architecture to keep the line recognizable. Differentiate variants with colour or clear naming without making them easy to confuse. Consider how the pack looks beside cartons and related products. A bottle that is premium in isolation can disappear when ten similar variants stand together. Ask whether the selected glass shape is available consistently across planned sizes and whether its neck finish supports the same closure family. This simplifies replenishment and reduces component errors. If a future refill format is planned, consider that in the early architecture rather than redesigning everything after launch.
What to include in the supplier brief
Send target capacity, product use, formula characteristics relevant to compatibility, preferred colour, neck and closure idea, desired dispensing behavior, order estimate, destination market, and launch schedule. Request glass drawings and samples of the full closure combination. Ask who sources each component and who verifies the fit. Specify decorative treatment and whether artwork must survive occasional oil contact. Record the testing that your team will perform and any documentation needed for your market. Browse the glass packaging range for shape references, then use the inquiry form to send a focused brief. By treating glass, dispenser, and formula as one design problem, a brand can make a better choice and avoid expensive surprises after filling.
A concise approval checklist
The final approval should identify the exact glass shape, colour, nominal and practical fill volume, neck finish, pipette length, bulb material, liner, cap colour, label or print, and carton configuration. Keep the component drawing and the filled sample together. Record how many drops or millilitres the intended user can dispense and under what conditions this was measured; a vague promise of precision is not enough. Check the opening experience after the bottle has been stored on its side and after a small amount of oil has touched the thread. Consider whether the customer can safely store the product away from children and whether the carton communicates necessary instructions. For a family of variants, inspect the complete lineup under the same lighting. This checklist makes the technical decision visible to design, procurement, quality, and marketing teams before the first bulk order.